Showing posts with label Playroom. Show all posts

10.29.2012

Home Tour: The Playroom/Craft Room

It's done.
And, it's maybe even better than I imagined it would be.
I wish I could express to you the happiness this space brings me. To think about what it was before...and now, what it is today. *sigh*

I want to be here.
Ross wants to be here.
It's exactly what we needed.


(The Play Nook)


(a recap)

See a project you're interested in? 
Check out these tutorials from the room:


Pin It Now!

10.22.2012

Craft Room Storage Center


I think I've finally come to a stopping point in the playroom/craft room. This was the final "big" project in the room...a little space for storage. It may, in fact, be changed around as time passes and I really get my hands on a few projects in there...but for now, I'm quite satisfied. 

I guess the only think left is the final reveal...


Want to make this bulletin board? Check out how HERE!

Pin It Now!

9.24.2012

Easy Ironing Board Tutorial


As part of this playroom redo, I (reluctantly) decided to make the ironing board part of the room...(reluctant, only due to the fact that I detest ironing).

Anyway, the original ironing board cover was, well, pretty plain Jane. If I was going to make this a part of the room, changes needed to be made...so I took it upon myself to attempt something new...and make a new cover. It was ridiculously easy, and if you've ever made child size pants/skirt before...it'll be even easier!

Here's what you'll need:
-2 yards of fabric
-2 packages of 1/2 in. elastic (sew the two pieces of elastic together- doubling the length)
-saftey pin 
-and the obvious: iron, ruler, thread and scissors

Here's what I did:
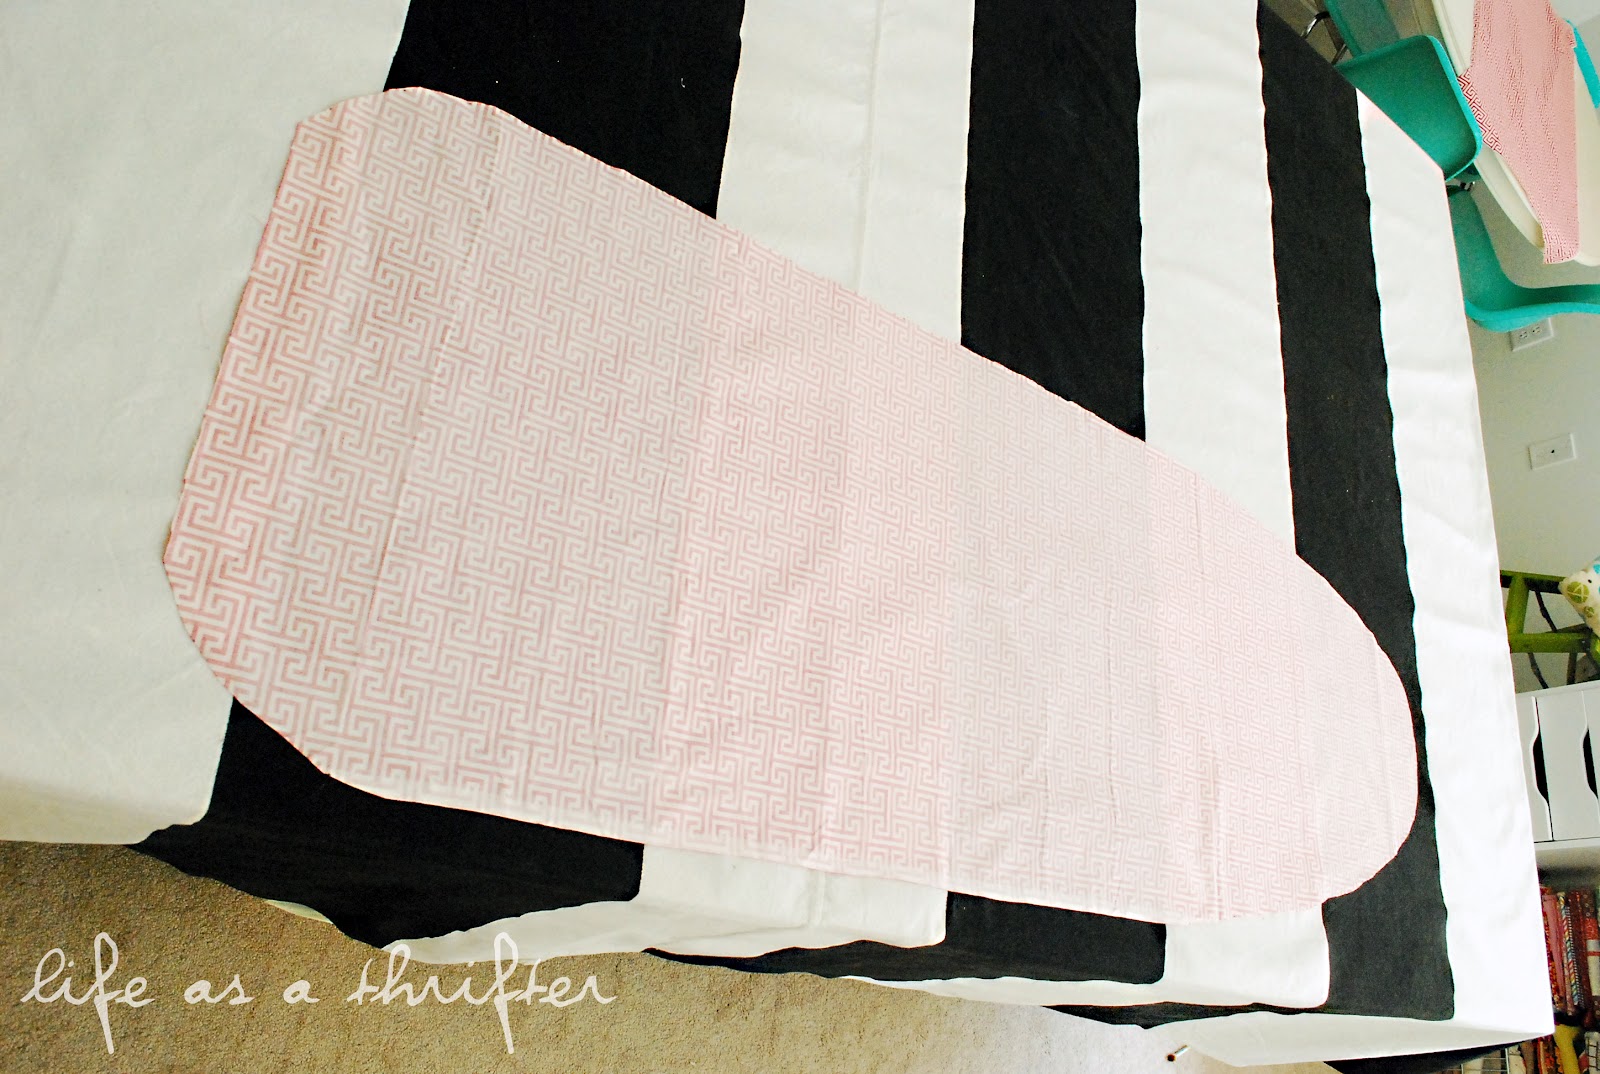
Step 1: Lay your board over your fabric...


...and make marks all around the board on your fabric about 3.5 inches out. (When you're done, you'll have little dots all around the board on the fabric.)


Step 2: Cut the fabric.
(Essentially, you are connecting the dots with your scissors.)


Step 3: Fold down and iron the fabric about half an inch all the way around.


Step 4: Fold down and iron yet again, but this time about 1 inch down.


(It'll be bunchy around the curves, but that's totally okay.)


Step 5: Sew all the way around the cover at the bottom of the fold, leaving a 2-3 inch hole/opening for the elastic you'll be putting in.


(This is what is should look like at this point.)


Step 6: Insert the elastic through the hole you left.
(Attach a saftey pin to one end of the elastic, then manuver it in your hole and all the way around the cover. This takes a minute...to push and pull it through, but you'll get the hang of it!)


Step 7: Decide how tight you'd like the elastic to be in your cover...they'll be a bit of excess elastic to cut off. Once you've determined how bunchy you'd like it, cut the elastic and sew the two ends of elastic together. (Remember it is elastic, so you can pull it out some and fit the two ends under the sewing machine to do that.)


Step 8: Sew the hole closed, making sure to backstitch on either end.


And well, because it's so pretty now...go ahead and let it be seen.

Pin It Now!

9.21.2012

Organization Underway in the Playroom


Maybe you remember that mirror I found at the estate sale and painted...


here it hangs.


...right above those wire baskets from the Goodwill.


And, if you were wondering what's inside all those bins...
play thing, after play thing, after play thing...all courtesy of
Mrs. Marsh: Kindergarten Teacher.


This playroom is almost complete...just a few more things to hang until the final reveal!


Pin It Now!

9.10.2012

How to Reupholster a Chair Seat


I found this old chair at the Goodwill a few weeks ago for 4 bucks,
and in my eyes the only thing it really needed was new fabric.


Step 1: Take off the seat.


Step 2: Choose your fabric. (I chose to cover it in white first, only because I was afraid my fun fabric was too thin...and the green might show through. Normally you probably wouldn't need to do this...)


Step 3: Cut enough fabric to allow roughly 2.5 to 3 inches on each side.


Step 4: Firmly staple the middle on each side.


Step 5: Work your way around tugging lightly and stapling the fabric in place.


(The corners get thick and bunchy fast. Maneuver it around the best way you can so that the least amount of folds show on the seat sides.)


I did the same exact thing with my fun fabric, right on top of the white.


Then happily screwed it back on my chair.


Pin It Now!

9.07.2012

The Play Nook

I last left you here...the crocheted bunting.


Here's a sneak peek at Ross's little play nook in the new playroom...


There may be a few changes or additions before it's all said and done, but it's definitely already been put to use.

Pin It Now!