Showing posts with label Kids DIY. Show all posts

10.29.2014

bits of us... at halloween.

I can't tell you how relieved I was to hear that Ross wanted to be a cat this year.
(mind you, she changed her mind at least 6 times once I started putting things together buuttt...)
The "cat costume" could quite possibly be the easiest costume ever.

So then, it was Gram I had to figure out.


Luckily there's pinterest...where I revamped this tutorial to make it work on Gram's hoodie.
It worked, and he loves it...okay- deals with it...thank goodness.


They seriously crack me up.
It makes my life seeing them play so well together right now. I know it won't last forever, but it's so obvious how much they love each other...


...even when that little mouse is constantly chasing around that big cat.

Pin It Now!

9.08.2014

the Short Term Baby Gate


Okay, well, I don't know if any of you mamas out there have had a problem with this or not...but I absolutely have. I envision just that...a short-term baby gate. Because, I mean it IS short term...what? Like 2 years tops? Coming into this house, our baby gate options were horrible. With our particular set up, my choices were either: something that falls or something that destroys your banister...and well, I had no intentions of choosing either. Not to mention what an eye sore they can be! So if I'm able to take it down for company or what have you, then I certainly want that option.

If you're familiar at all with buying a house, then you know how crazy it is. Literally, walking in a house maybe twice, and then making a life altering decision to buy the thing! (And in our situation, waiting another 2 months before you're actually living there.) It's really pretty nuts, if you ask me.
Anyway, in the few times that we visited the house before we actually closed, I took a bunch of pictures of the stairwells and got to work over at Annie's...

(A small side note: I am fully aware how horrific many of these pictures are. We did this late at night on a time crunch...)


Materials:
-zip ties (size based on your measurements)
-2 bungee cords (Again, size based on your measurements, but several inches smaller. You want it to be as tight as you can when you hook it up.)
-drop cloth or fabric of your choice
-2 eye hooks (shown below)
-2 small metal rings (shown below)


The first thing I did was measure and cut my fabric. You'll need to measure the width and height of the stairwell space you intend on blocking off, adding an extra inch on the sides and an extra two inches on the top and bottom.


After it was cut, I double folded (about a 1/2 inch each fold), ironed and sewed each side down.


Next, I folded the fabric (at the top) over the bungee cord and sewed it in place (making sure to backstitch at both ends).


Now, this is the part when you'll need a little help...
Because your bungee cord will be shorter than your fabric piece, about half way in you'll need someone to pull it taut while you sew it to the end. You'll do this same thing on the bottom as well
...all while making sure you get a few sips of wine in...


Mind you, once you've finished sewing in the two bungee cords, it will look scrunched up and funny. It isn't until you actually install it that it comes together!


In order to do that, at the top we simply attached a metal ring on the zip tie and pulled it as tight as we could.


And, at the bottom we screwed in the eye hook.
The bungee hooks slide right through the metal hooks to take on and off whenever we please.


If I would have had more time to do this, I probably would have chosen a fun fabric...but in using a drop cloth, I feel like I could always come back do something fun with paint maybe? (Of course, it would have been much easier to do that sort of thing before I sewed it and it was still flat...)

(One final note: Do be aware that this may not work for every child! My little one is 18 months, and he's done great with it. He's hung on it many, many times but never once has he gone over it. There is certainly a possibility that a child could go around it, but again he's never attempted that either. I think for the most part, it's just too much effort to deal with, so he moves along. If he is hanging around it, then I try to distract him away from it, because I do realize there will come a day when he will figure it out. Of course, I'm hoping by then I'll have reached the point where I feel much more comfortable with him climbing anyway...)

I hope this is helpful, guys! It really has been over here!


Pin It Now!

2.05.2014

Crazy Easy Reuseable Tracing Mats


I'm thrilled to be a part of a brand new monthly series all about repurposing!! On the first Wednesday of every month, we'll be sharing recycled redos...my favorite! We've even created a new Pinterest board dedicated to all our repurposed, recycled and reused projects!

So, today to kick off our Repurpose, Recycle, Reuse series, I'm going to share with you a CRAZY EASY diy...seriously, anybody could do this, guys.


Wouldn't you know it, I was in the thrift store the other day... *smile* .... and I ran across these old vinyl placemats...4 for $1.

I'm not typically a placemat type of person, so I thought, why not turn them into tracing mats for the kids!

After I measured and drew a few straight lines to help guide me, I wrote the words across the mat using a pencil. Once I liked how it looked, I used a Sharpie to create tracing lines.


I erased the pencil marks and let Ross trace away.
Simple as that!
(And, if you weren't sure, crayon wipes right off of vinyl with a dry paper towel!)


I've even had thoughts of taking these to a restaurant for entertainment purposes.

Wanna check out more from our series???
Be sure to stop by these cools sites:


It All Started With Paint 
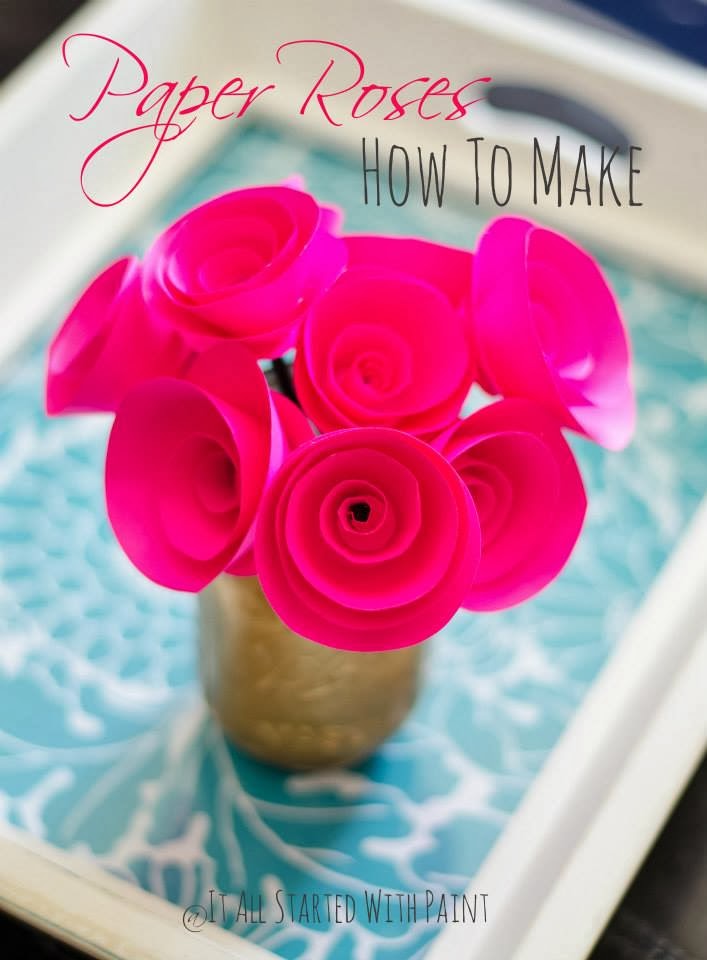
Paper Roses


And...Congratulations Mandy Powell!! 
You're the first Pattern Pod giveaway winner!!
Don't forget to comment!! 2 more chances to win by Friday!!


Pin It Now!

11.18.2013

Paint By Numbers Nativity

When I was asked to share a kid-friendly DIY Christmas project for Design Dazzle's "100 Ideas of Christmas Wonderful" going on right now... I kept thinking how fun (and educational) it would be to create my own little "paint-by-numbers" project for Ross. You may already know she's 3, so I had to start with something basic. My first thought was a nativity scene.

Step 1: A background: Since I needed to do something basic, I simply just drew straight lines across a piece of poster board and gave each space in between the lines a different number (which is hard to see in this picture).  Then, I gave each color we planned to use a number. 


Step 2: Ross painted the poster board by matching the correct "color" number to the "space" number. Let dry.


Step 3: I made a pattern of the nativity scene on paper then cut each piece out.


Step 4: I layed my pattern on the overhead and traced it with a black paint pen.


Step 5: Lastly, we both painted the inside black.


I happened to find this old frame for 8 bucks at the thrift store where the poster board fit almost perfectly.

After it was all said and done, I learned.... 3 year olds have the attention span of an ant. I'd go smaller next time. With that said, however, the project turned out to be a lot of fun. Obviously, the older the kid, the more detailed you could make this. I loved that we could do something so fun and learn about numbers and colors at the same time! I'd definitely do it again!


Pin It Now!

10.30.2013

Wednesday Redo: Haunted House

In the spirit of Halloween...


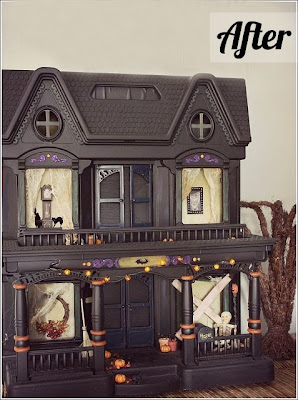
...a Fisher Price dollhouse turned haunted house.
Now, that's good stuff.


Check out how it's done over at Decorating Ideas Made Easy.
Happy haunting, everyone!

Pin It Now!

10.28.2013

If we were pumpkins...


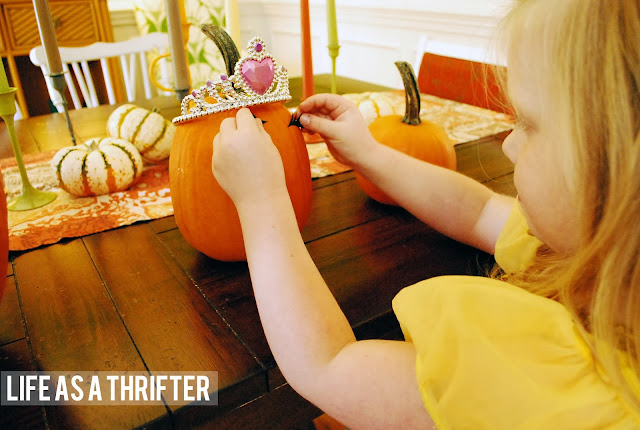
...maybe we'd look a little something like this.


Pin It Now!

7.31.2013

Linky Party Feature!

I gotta say...you guys have some ridiculously good ideas out there...which made it ridiculously hard to choose just one. But, one that really stuck out, as I was visiting linker's pages, was Kirstin's. What a fun idea! I truly would love to do this!


Be sure to stop by Kirstin's blog Craftiments to find out how she and her kiddo did it!

Pin It Now!

7.08.2013

Stained Glass (with kids!)


A few weeks ago I shared this fun kids activity over at Design Dazzle...and I couldn't wait to share it with you!!

As you know, old mirrors are pretty plentiful. Why not use them for a project?!?!?


I started by sketching out my picture on the front of the window with a dry erase marker.


Next, I turned the window over and taped off my sketch with painters tape. (You may or may not want to do this step...it's certainly not necessary depending on the kind of art your looking for!)


Then, I prepared several bowls full of "glass stain" paint and marshmallows.


Using the marshmallows, my daughter Ross dipped them in the paint...


and stamped them on the window.


Once we finished, I carefully peeled the tape off.


Painting with marshmallows was definitely a hit...but clearly, eating them was even better!


Don't forget about linking up your "Summertime Fun with Kids" Activity on the BIG LINKY PARTY going on RIGHT NOW!!!


Pin It Now!