


Hello! I am so excited to be here sharing with you all today. I am Megan, and I blog over at Balancing Home. I used to rock kid's minds (yeah, I was a teacher), but now I'm rocking out at home with my seven-month-old daughter and my three-year-old son. I am all about making my home and my time with my kids fabulous. I love creating, and I love sharing. Being a stay-at-home mom wasn't going to keep this girl quiet! Thus, Balancing Home was born. I am an ordinary girl, turned ordinary mom, on a less-than ordinary budget trying to make it all work. I also partnered up with my husband (graphic design extraordinaire) to start a print shop.
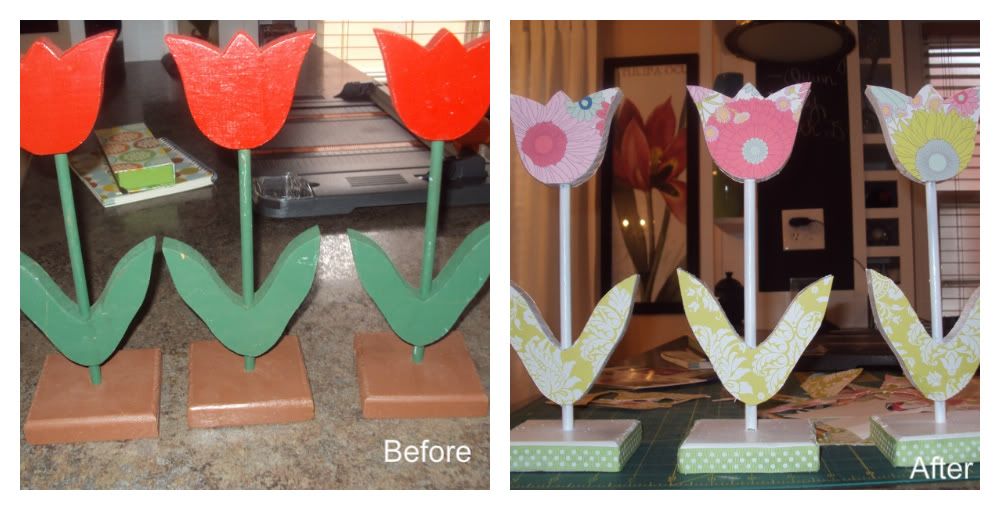
Today, I want to talk about some rummage sale flowers I posted about here. A while ago, I picked up four flowers for a quarter each at a rummage sale.
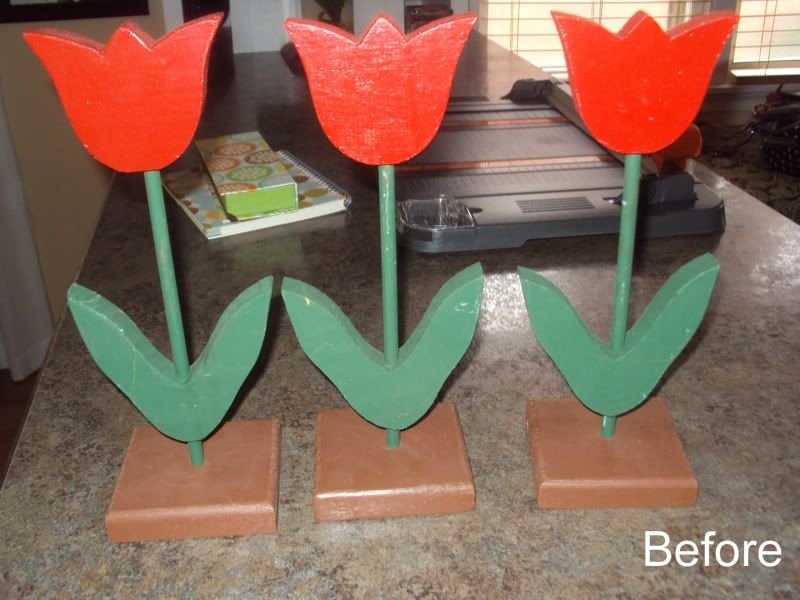
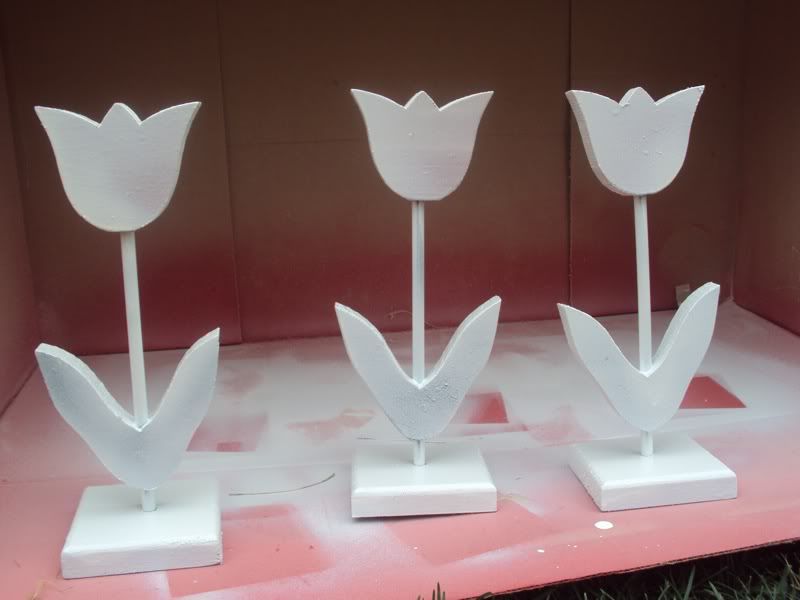
I decided to only makeover three since one was a little funky (it was taller and had a bigger base) and things look best in threes. Those of you who saw the letters I made for Eleanor's room (seen here) are going to know exactly how I rocked out this makeover. I started by spray painting the flowers white.
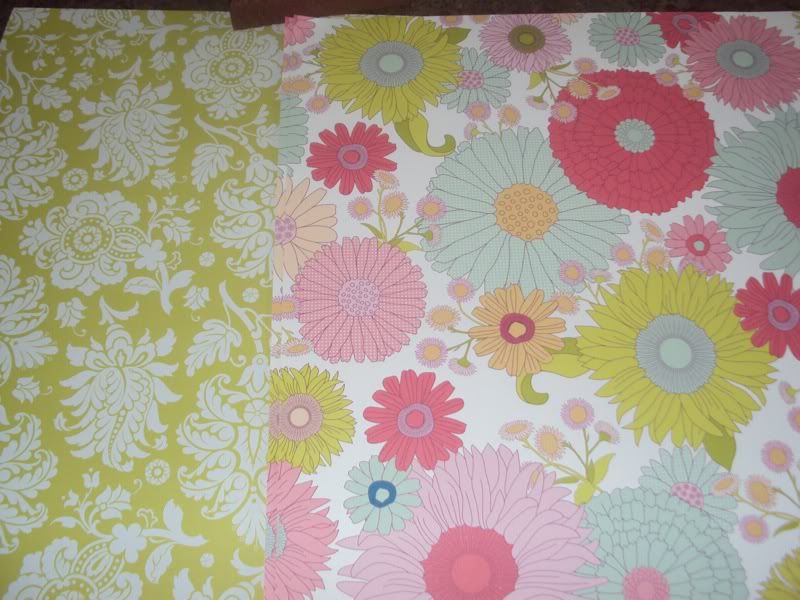
Then, I took my lovely paper and cut it down to size. For the second time that day I got to use my handy cutter my mom swooped up from TJMaxx. She knew it was just the kind of thing a crafty girl like me would love. It is pretty sweet.
 |
| Gorgeous? I think so! |
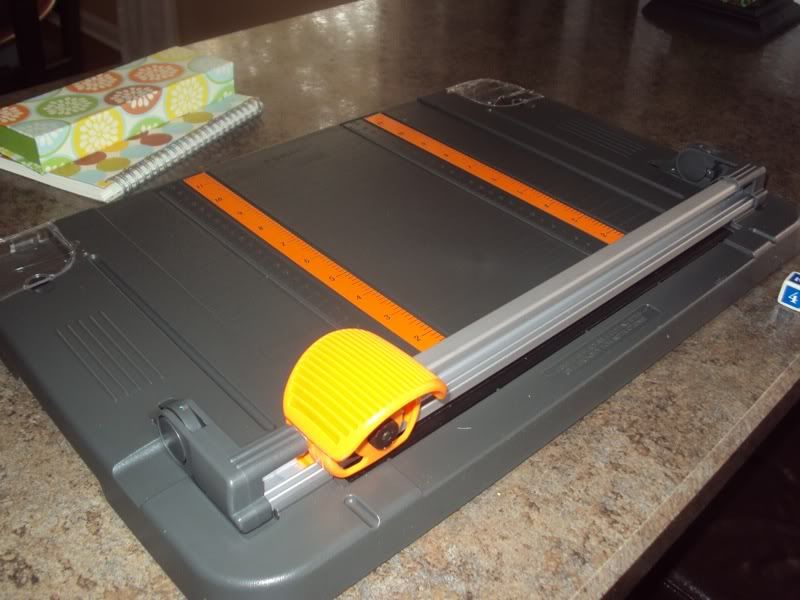 |
| Fandangled Cutter |
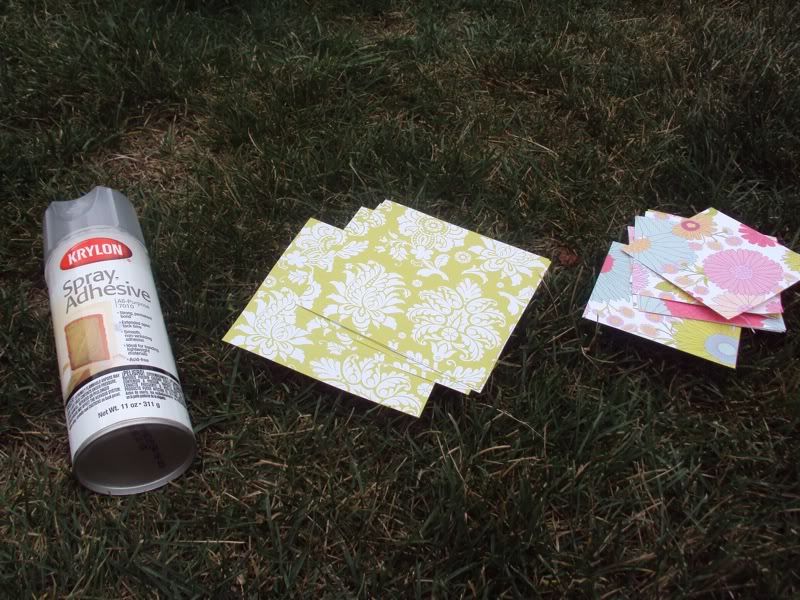
So there you have it, a crafty girls best friends: scrapbooking paper and spray adhesive. For those of you keeping track spray adhesive-already had, flowers-$1.00, scrapbooking paper-$1.00 (probably less with discounts), spray paint-already had...grand total-$2.00 at most.
On to the next step. I simply sprayed and attached the paper. I only did one side at a time. I figured doing both sides at once would make cutting extra tricky.
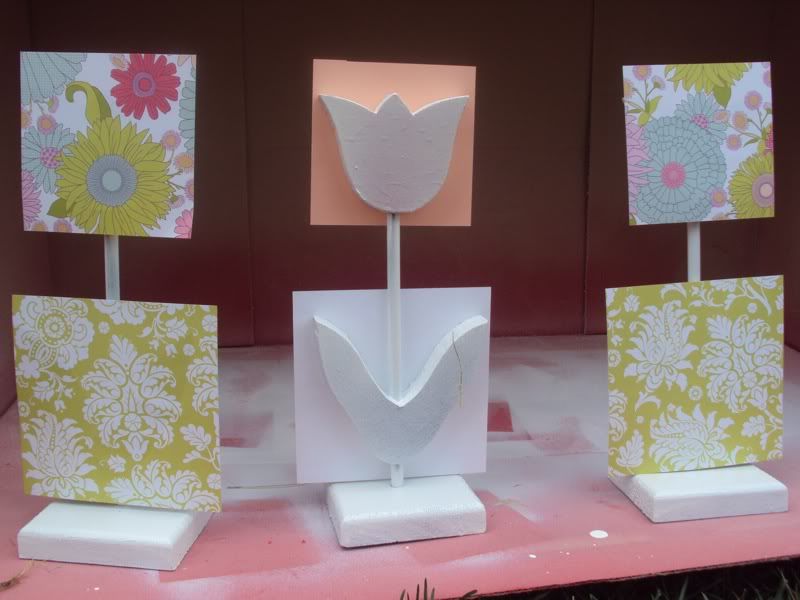
At this point me and the X-ato knife (and cutting mat) got down to business. I simply repeated on the other side (spray, adhere, trim). To be honest my trimming gauged into my paint job a bit and the spray paint didn't cover as much as I wanted to so I went back over everything with a little acrylic craft paint. I was really glad I did because it took no time at all and gave the flowers the finished look I was after.
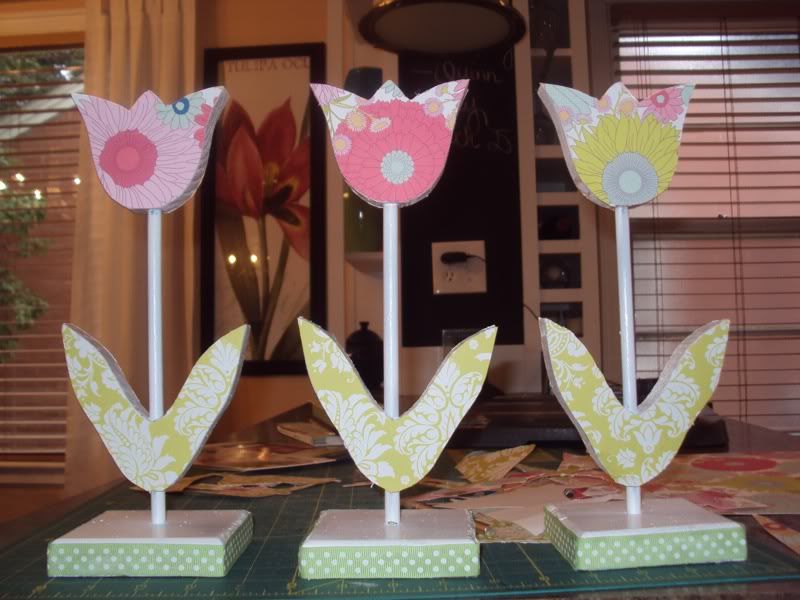
To finish them off I added a little ribbon around the base with some spray adhesive (and yes, this was ribbon I already had, meaning...free!). Here is what they look like in the little lady's room,
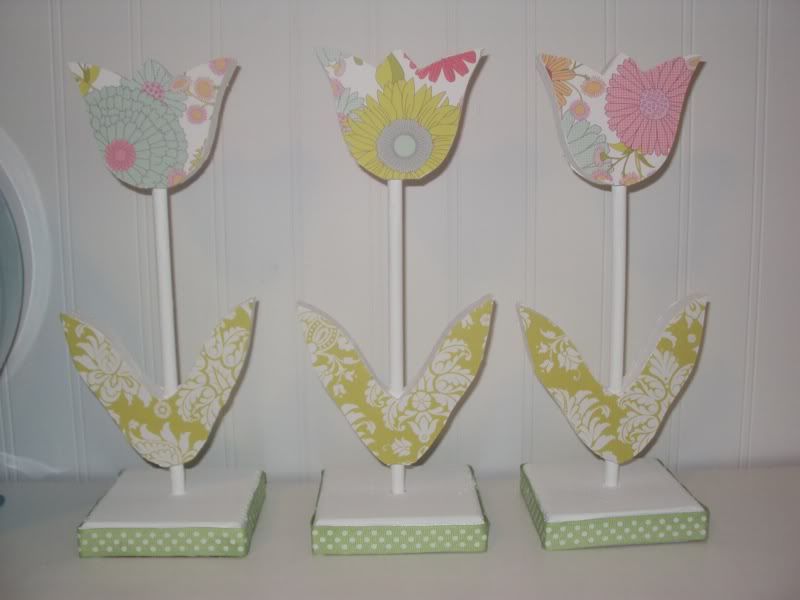
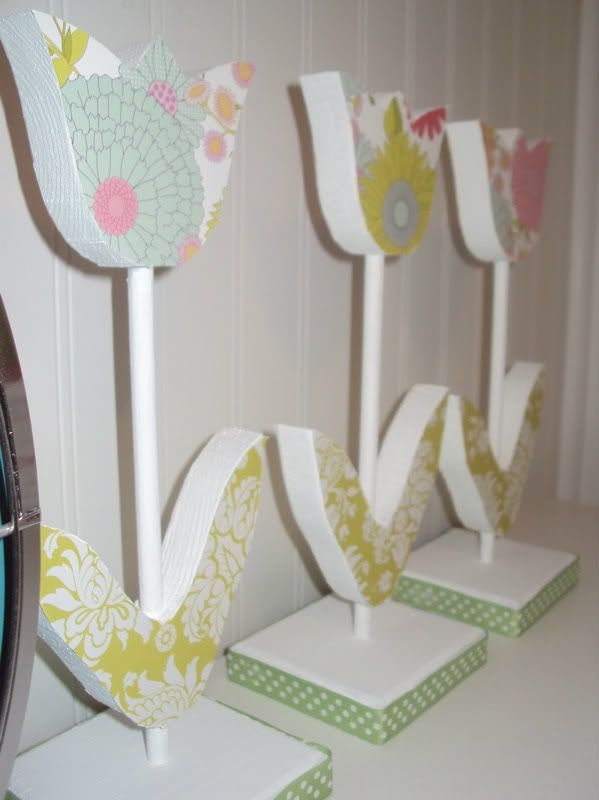
I do recall a husband of mine questioning why I would have ever bought those flowers. He didn't believe I could make them look good, and I think I proved him wrong (he agrees). For $2.00 I couldn't be prouder.
I love giving things new life. I hope I have inspired you to take the ugly and make it beautiful. You don't need a lot of money, just a little creativity and craftiness.
A big thank you to Holly for having me over! Be sure to stop by the blog and check out more. The hubs and I have also been busy working on all sorts of free printables for our loyal followers!
Pin It Now!


I really like the AFTER!
ReplyDeleteGreat decorating idea for $2.00!
TFS
my dear grandpa used to make flowers with that pattern. i have some! it must have been in Woodsmith magazine or something :)
ReplyDeletesuper cute re-do :)
ReplyDeleteCute rehab project! Thank you for sharing it, hope it will keep other sweet little decor elements like this out of the landfills and beautifying homes again. (But looking a whole lot prettier than when they did the first time 'round!)
ReplyDeleteIm a new Follower from over at Blue Cricket Deesign. I fell in love with your blog! What a get idea! Seeing these made me laugh and took my back in time! Everyone and their grandma had these. I will be passing this on to a girlfriend for her little girls room!!! Thanks for shareing. You have fantasic ideas!!!
ReplyDelete